![]() Once the Toshiba Bluetooth software has been installed on your PC or netbook, make sure that Bluetooth is enabled on your netbook.
Once the Toshiba Bluetooth software has been installed on your PC or netbook, make sure that Bluetooth is enabled on your netbook.
If the icon in the system tray shows red on blue, Bluetooth has been turned off. You can right-click on the Bluetooth icon in the system tray to check whether Bluetooth has been disabled; there will be a menu item “Enable Bluetooth Radio” if Bluetooth is off.
Once Bluetooth is enabled, the icon will return to white-on-blue, and the “Enable” item on the right-click menu will change to “Disable”.
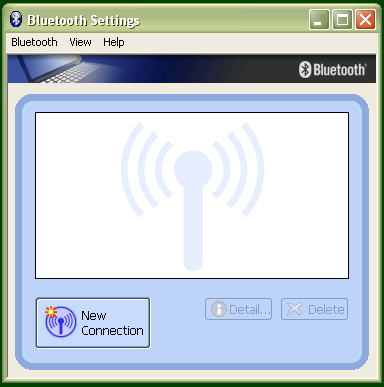
To add a device, first find Bluetooth in your Programs menu. Select Bluetooth Settings from the sub-menu, and a window will pop up. To pair with the BraillePen, click on New Connection.
The dialog that follows gives two choices: Express Mode, which is the recommended mode, and Custom Mode. Express Mode
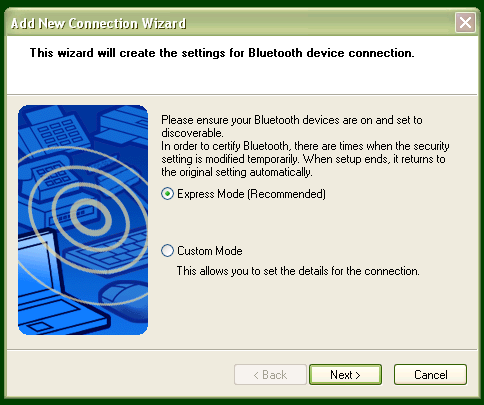
is usually trouble-free, so unless you have some special requirements we would suggest that you use it.
Make sure that BraillePen is on and the three-beep activation sound has happened; then click Next.
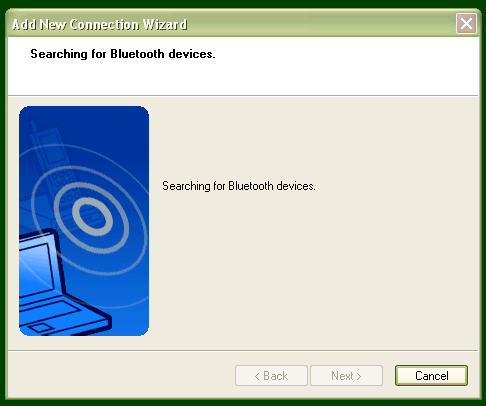
A new dialog opens to tell you that the Bluetooth application is searching for devices.
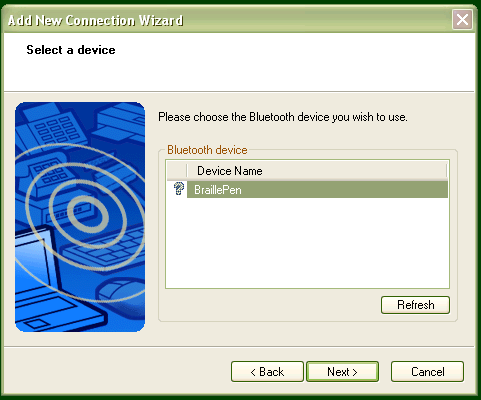
Next you will see the dialog with the BraillePen listed. Select it and click Next.
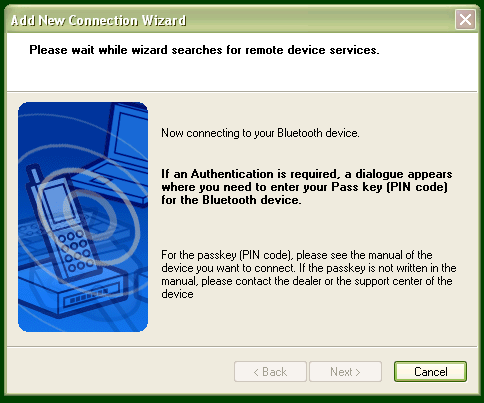
Then the software will check for the services available to the BraillePen, and let you know that you might need to authenticate; this is not required with the BraillePen.
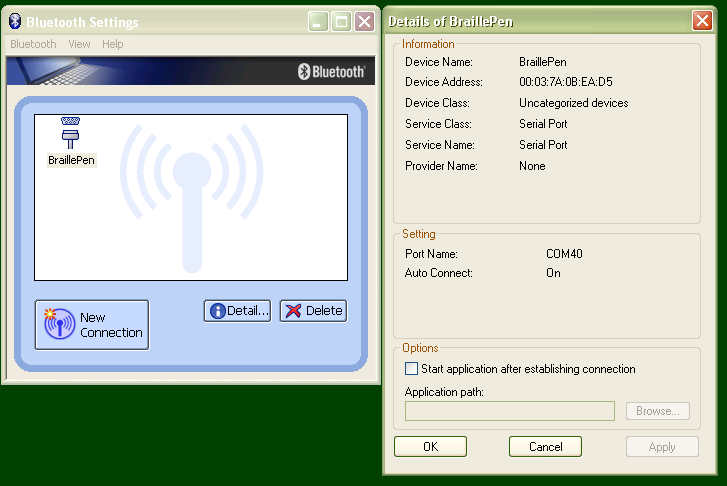
After the pairing is complete, the software returns to the Bluetooth Settings window from the beginning; your BraillePen is now shown in the window.
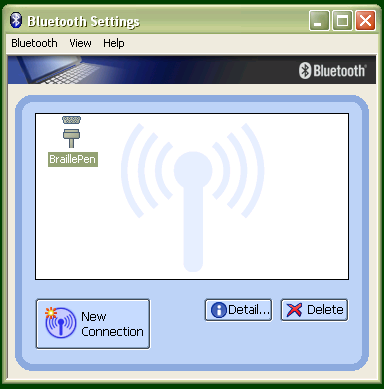
You now have access to two extra buttons, Detail and Delete. Delete allows you to un-pair from your BraillePen; Detail gives you all the information about the Bluetooth connection with your BraillePen, including the COM port number assigned to it, which you might need to know for your access software.
